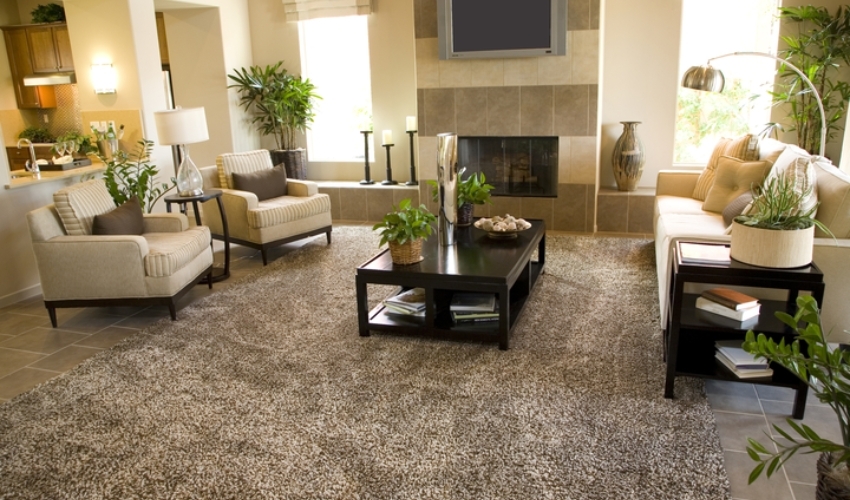
Suppose you’re tired of vacuuming and steaming your living room carpet only to have it look dirty again in no time. In that case, consider replacing it with an easy-to-maintain flooring option. Waterproof laminate flooring has become a popular choice to switch out wall-to-wall carpeting in living rooms and other high-traffic home areas.
Reasons to Replace Carpet with Laminate Floors

There are several benefits to replacing carpet with laminate flooring:
- Easier maintenance – Laminate floors are very easy to sweep to keep them looking fresh. Carpets require frequent vacuuming to look their best.
- Longer lasting – The average carpet lasts 5-7 years before needing replacement. Properly installed laminate can last 15-25 years or longer. The laminate boards are durable and resist stains, scratches, and dents better than carpet.
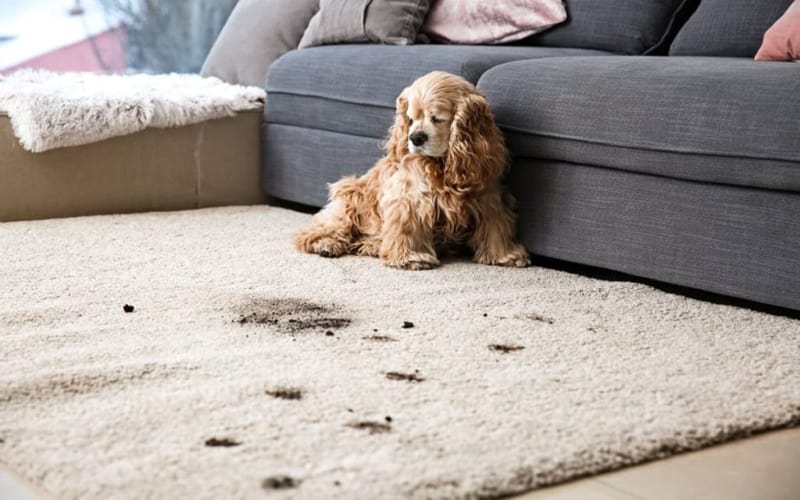
- Healthier home – Carpets trap dust, dirt, pet dander, and other allergens deep in the fibers. It can worsen allergies and asthma. Laminate floors don’t harbor dust and allergens.
- Moisture resistant – Laminate flooring is unaffected by moisture because of its durable protective wear layer. Meanwhile, carpet can easily develop mold and mildew if wet.
- Design options – While carpet colors and textures are limited, laminate floors come in unlimited styles. Easily create a wood floor look or realistic stone or tile patterns.
- Increases home value – Installing laminate in your living room can increase your home’s value.
Step-by-Step Guide to Replace Living Room Carpets with Laminate Flooring
Measuring the Room

Before heading to the store, take detailed measurements of your living room. Measure the length and width to calculate the square footage. A 100 sq. ft room is 10 x 10. You’ll need an extra 10% for cutting allowances. For example, a 200 sq. ft. room requires 220 sq. ft of flooring. Measure carefully, as laminate boards cannot be trimmed once installed.
Also, measure doorways and openings to know the maximum lengths of boards you can install. Include an expansion gap of 1/4″ around all walls and fixed objects when measuring. Laminate expands and contracts slightly with temperature changes. Proper expansion gaps prevent buckling or gapping.
Purchasing Flooring

Shop for laminate options that will match your living room’s decor. Consider the color of walls, furniture, and decor when selecting a style. Light, natural wood tones like oak or maple work in most spaces. Gray-washed and weathered wood looks are also popular options.
For a realistic wood look, choose a textured or hand-scraped surface. Stone and tile patterns can also mimic natural materials at a lower cost. Purchase a few wood flooring samples to view in your home before deciding.
Look for laminate rated AC3 or higher, indicating it suits residential spaces with high foot traffic. Opt for floors with attached padding to reduce noise transfer. Waterproof laminate with sealed edges will prevent moisture damage.
Preparing the Subfloor

Proper subfloor preparation prevents uneven floors or damage to the laminate boards. Start by removing all furniture, carpeting, and padding from the room. To remove wall to wall carpet:
- Use a knife to remove the carpet. Discard or recycle the old carpet.
- Remove the tack strips carefully with pliers. Make sure not to damage the baseboards.
- Use a pry bar to pull up any staples remaining in the subfloor.
Next, clean the subfloor thoroughly by sweeping and mopping. Fill any cracks or holes with a floor patch. Level any uneven areas.
The subfloor must be flat and dry before laminate installation per manufacturer guidelines. Test moisture levels with a meter in several areas. High moisture below can damage the laminate over time.
Installing Underlayment

Once the subfloor prep is complete, roll out the foam underlayment. This layer cushions the floor and absorbs noise. Use an underlayment recommended by the laminate manufacturer.
Cut the underlayment to fit the room, leaving the recommended expansion gap around the edges. Run it perpendicular to the direction the laminate boards will run. Tape the seams with the adhesive included on the underlayment edges.
Follow the laminate layout guidelines to determine the best direction to run boards. The planks should be perpendicular to the floor joists. Boards may run opposite of the old living room carpets direction.
Laying the Laminate Flooring

Next comes installing the laminate boards. Use spacers along the wall studs to maintain proper expansion gaps. Always follow the laminate flooring directions carefully. Here are the basic steps:
- Start in a corner and lay the first-row tongue side against the spacers. The groove should face the room.
- Use spacers at the end of each board. Lock the end joints together by lowering them at an angle.
- Use a rubber mallet and tapping block to knock the boards into place gently. Do not directly hammer the laminate edges.
- Add the next row by angling the tongue edge into the previous row’s groove. Lock them together and tap them into place.
- Stagger boards randomly so joints do not all align. Vary lengths to optimize the natural look.
- Use a table saw to cut the final row of pieces to fit against opposite wall spacers.
- Remove all spacers once finished.
Take your time laying the floor straight and properly locking boards together. The laminate will last for years if installed correctly. Once boards are installed in the main room, measure and cut pieces to size for doorways and openings. Use a jigsaw for any uniquely shaped transitions.
Tips for Taking Caring of Laminate Floors

The proper care will help the new laminate floors look like new for years to come:
- Sweep, mop, or vacuum regularly to prevent dirt and grit buildup that can scratch floors.
- Wipe up spills immediately to avoid moisture damage.
- Use felt pads on furniture legs; do not roll chairs directly on laminate.
- Avoid using abrasive cleaners, bleach, or ammonia that could etch the protective wear layer.
- Trim pet nails and paws to prevent scratches.
- Rearrange area rugs occasionally so the floor ages evenly. Expose to equal light levels.
Conclusion
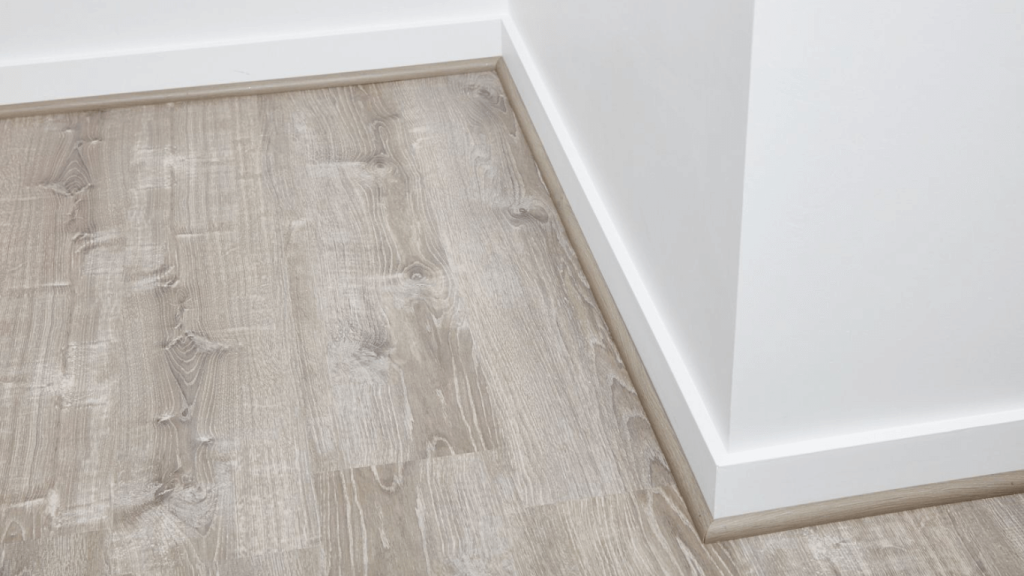
Following product directions, install transition strips, molding, or trim pieces between rooms. It covers expansion gaps while allowing the laminate to float freely. Apply with adhesive or nails through the strips but not the laminate.
Replacing outdated carpeting with beautiful, durable laminate floors is a great way to update your living room’s look and make maintenance easier. Follow proper installation and care steps, and your new waterproof laminate flooring will last many years of family enjoyment.